
How the technique works, what to consider in your design and when cold foil is the better choice
Grafische Groep Matthys has specialised in cold foil printing since 2008 and is an expert in foil finishing of print and packaging in paper and board. To understand what cold foil adds, a thorough knowledge of classic hot foil stamping is essential.
Knowing how the two techniques differ lets you use each of them where it performs best. Both are valuable for creating eye-catching print and folding carton packaging.
Hot foil is often used to give print a luxurious look and to make specific elements stand out. It can be applied to many types of paper and board, which makes it a versatile option in graphic design.
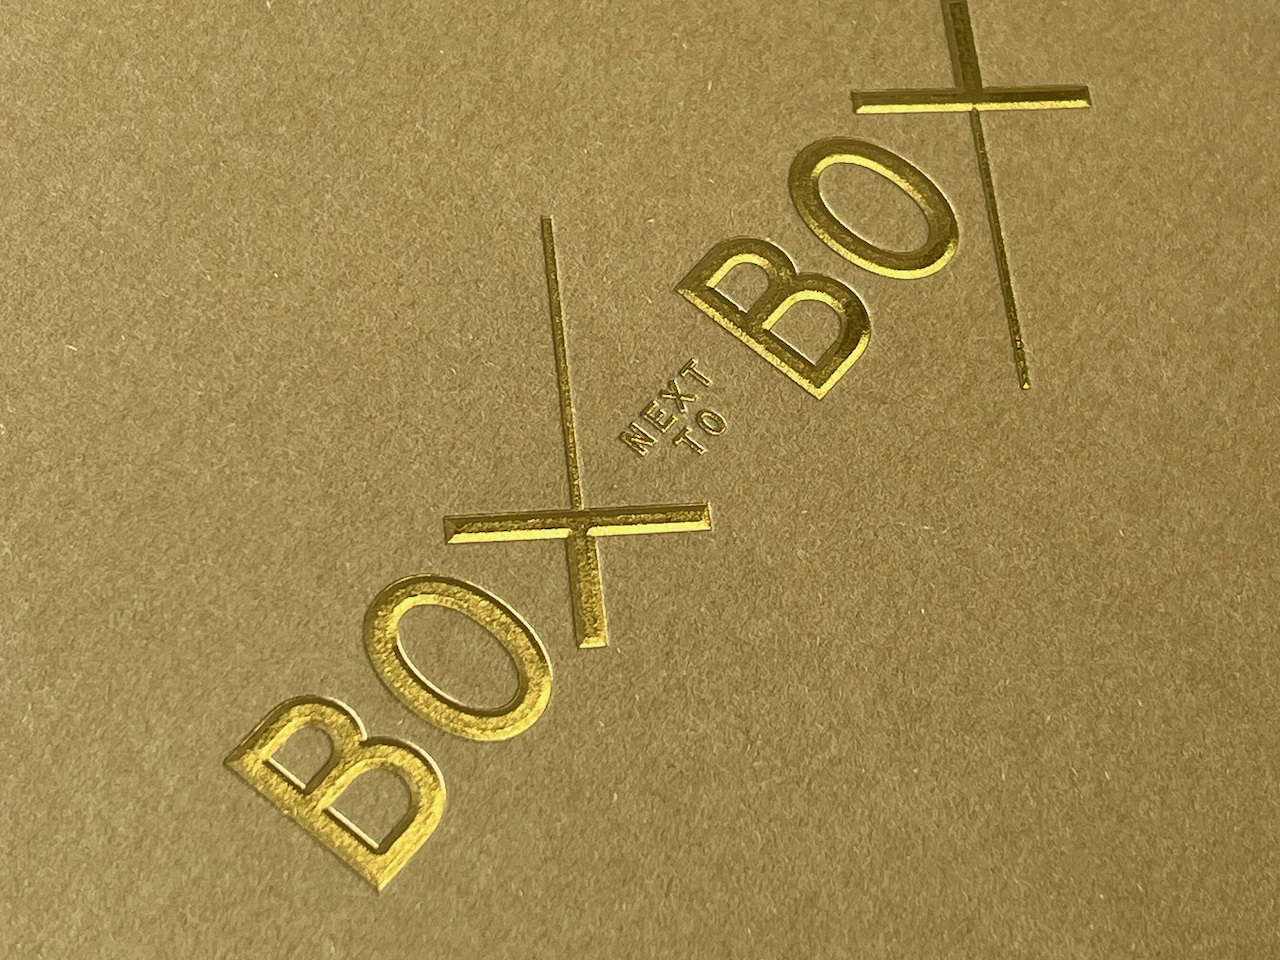
Hot foil stamping, also called hot foil printing, is a finishing technique that adds glossy, metallic or coloured accents to print such as business cards, packaging and invitations. The process uses heat and pressure to transfer a thin foil onto the surface of the paper or board, creating a striking, premium finish.
First, the design that will carry the hot foil is created. This can be a logo, text, an illustration or any other graphic element that deserves extra attention. In the print file, the elements to be finished in hot foil are set up in a separate foil layer, with one layer per foil colour.
A wide range of foil colours is available. The most popular are metallic colours such as gold, silver and bronze, in both high gloss and matt finishes. The range of holographic foils, such as rainbow effects, is also extensive. Less well known are plain coloured foils such as white, black or blue, which have no metallic look.
A die, or cliché, is made based on the design. This is a relief plate engraved with the required design. The die is heated during the hot foil process.
The paper or board that will receive the design must be suitable for hot foil adhesion. It is important to agree in advance on anything applied during or after printing before the hot foil goes on: primer or dispersion coating, varnish, UV varnish, and types of laminate such as matt, gloss or soft touch. The choice of paper or board also affects the final application and therefore the result.
A thin foil is placed on top of the prepared sheet, and the heated die presses against the foil. Heat and pressure make the foil bond to the sheet, transferring the design.
The result is a striking design with glossy, metallic or coloured accents on top of the printed piece. These accents can be subtle and refined or bold and expressive, depending on the design and the choice of foil.
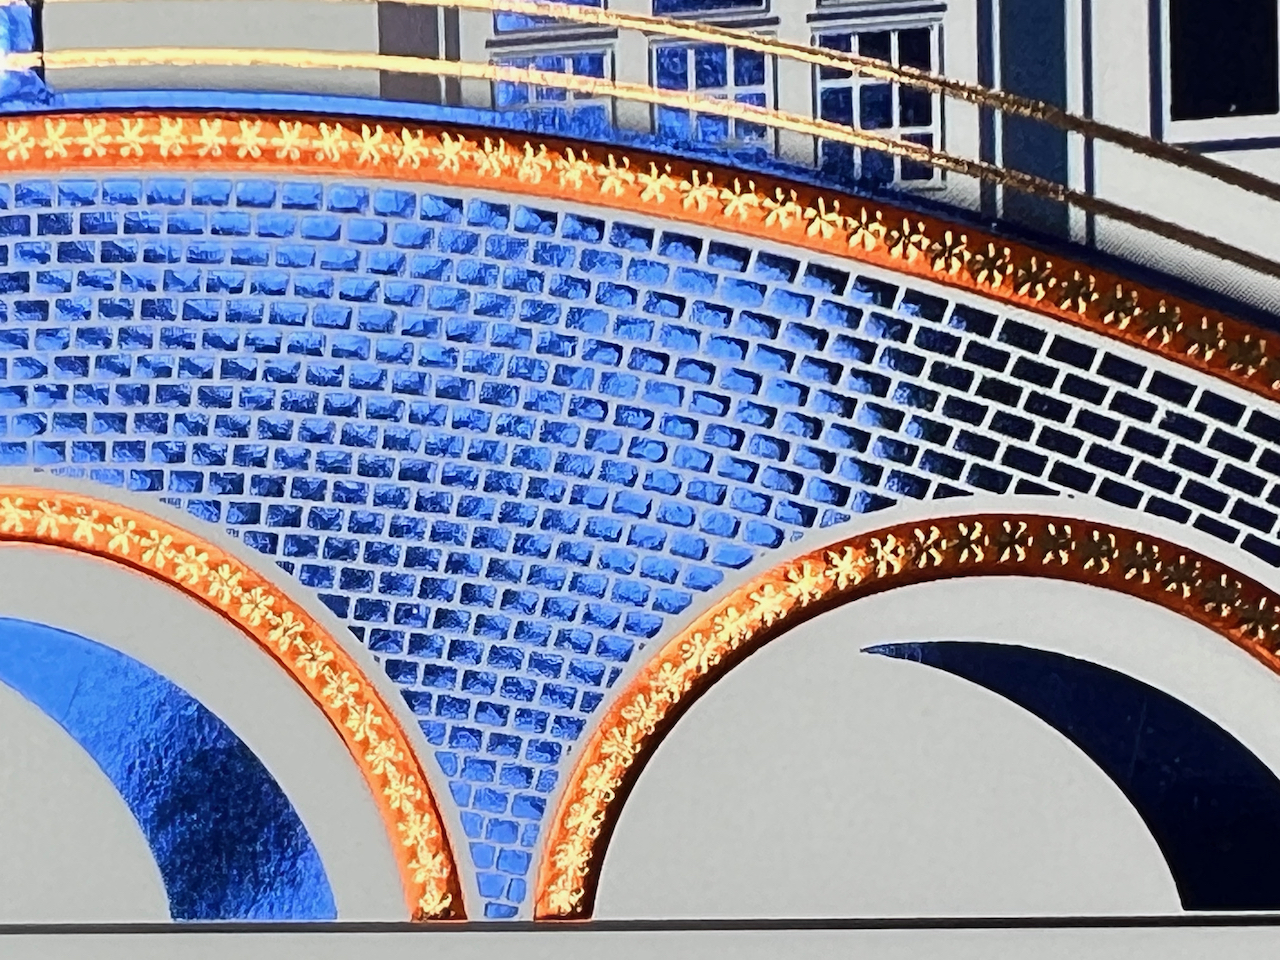
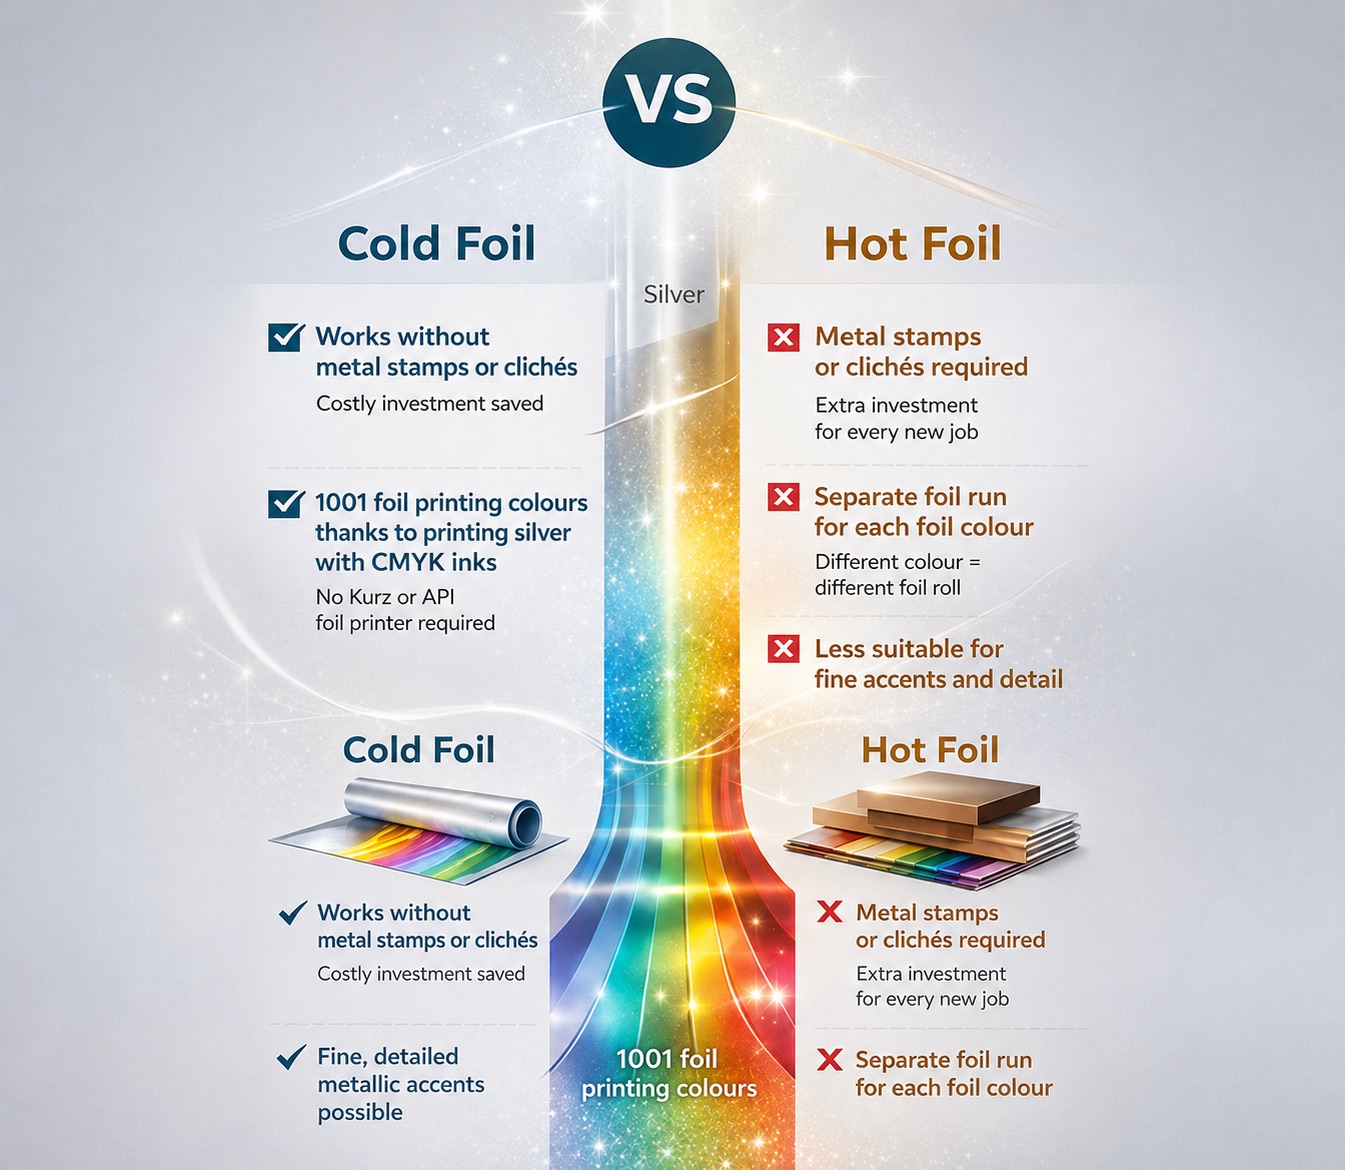
Both techniques produce a metallic result, but they work differently. Hot foil needs a metal or copper die for every design and a separate pass for every foil colour. Because of the heat and pressure, it performs well on uncoated and texture-sensitive surfaces.
Cold foil is applied inside the press without a die, and by printing CMYK on top of the foil you create every metallic colour in a single pass.
As a first direction: uncoated paper or board with one foil colour makes hot foil the most likely choice. Coated paper or board with several foil colours in one design points to cold foil. Read more in What Is Cold Foil? or discover our cold foil printing.
We help you gather the knowledge you need and make the right choice. Where hot foil is the best fit, we are happy to put you in touch with graphic partners who can produce your hot foil work to a high standard.
1001 metallic colours with silver & gold cold foil printing

© 2026 Grafische Groep Matthys.
Made with ♥ by Heroo